
Changing your car's brake fluid isn't just about topping something up; it's a full-on replacement of the old, contaminated stuff with fresh, clean fluid. The whole process is known in the trade as 'bleeding the brakes', and it’s a critical safety job we recommend tackling every two years, without fail. Getting this right keeps your brakes sharp and responsive, heading off serious problems like brake fade before they can even start.
Changing your car's brake fluid isn't just about topping something up; it's a full-on replacement of the old, contaminated stuff with fresh, clean fluid. The whole process is known in the trade as 'bleeding the brakes', and it’s a critical safety job we recommend tackling every two years, without fail. Getting this right keeps your brakes sharp and responsive, heading off serious problems like brake fade before they can even start.
Why Changing Your Brake Fluid Is Non-Negotiable
If your brake pedal has started to feel a bit spongy, that’s not a minor niggle – it’s a massive warning sign you absolutely cannot ignore. Your brake fluid is the hydraulic lifeblood of the whole system. When you hit the pedal, this fluid, which can't be compressed, transfers that force directly to the callipers. They then squeeze the pads against the discs, bringing you to a halt. It’s a simple but brilliant system that just wouldn't work without clean fluid.
The problem is, the fluid’s performance drops off a cliff over time. This isn't your typical wear and tear; it's all down to the fluid's chemical makeup.
The Problem of Water Contamination
The vast majority of brake fluids in UK cars (think DOT 3, DOT 4, and DOT 5.1) are what's known as hygroscopic. It's a fancy word, but it just means they're designed to absorb moisture right out of the air. In a damp climate like ours, this happens constantly through microscopic pores in the rubber brake hoses and seals.
You might be thinking, "Why on earth would they design it to absorb water?" Well, the alternative is far worse. If it didn't, any water getting into the system would pool in the lowest points, like the brake callipers. This would lead to rapid corrosion from the inside out and, in winter, it could even freeze solid, completely blocking the lines. By absorbing the moisture, the fluid spreads it thinly throughout the system, giving some protection against localised rust.
But this clever solution comes with a major catch.
As brake fluid absorbs water, its boiling point plummets. Just a 3% water content—a level easily reached after two years of driving—can slash the boiling point by over 50°C. This single issue is the root cause of most fluid-related brake failures.
When you're braking hard—say, during an emergency stop on the motorway or coming down a long, steep hill—the callipers get incredibly hot. If the brake fluid's boiling point has dropped too low, this intense heat can turn the absorbed water into steam. And unlike a liquid, steam is very easy to compress.
This creates two incredibly dangerous situations: Brake Fade, where the pedal starts to feel soft and travels further towards the floor, giving you less stopping power each time you press it; and Vapour Lock, a sudden and total loss of your brakes where pressing the pedal does nothing but squash steam bubbles in the lines instead of actually applying the brakes.
Know Your Vehicle's History Before You Start
Before you even look at buying new fluid, your first move should be to get a clear picture of the car's maintenance history. Has the fluid ever been changed? When was it last inspected? Finding this out can stop you from doing unnecessary work, or more importantly, flag up a safety issue that's been ignored for far too long.
This is where a quick check with a service like AutoProv.ai is worth its weight in gold. Just by typing in the car's registration, you can see its full service history and any past MOT notes, which often flag up advisories on brake fluid condition. By using the vehicle check service from AutoProv, you empower yourself with the detailed knowledge needed to maintain your car to the highest safety standards.
This simple check is a non-negotiable part of responsible car ownership. The scary truth is that a shocking number of UK cars are running on old fluid. In fact, braking defects directly linked to old or contaminated fluid accounted for around 15% of all initial MOT failures in recent years. To learn more about what to look for, take a look at our detailed guide on essential safety checks for UK used cars. A few minutes of research helps you avoid becoming another statistic and could prevent a catastrophic brake failure.
Gathering Your Essential Toolkit for the Job
Trying to change your brake fluid without getting your gear sorted first is a recipe for a bad afternoon. Think of it like cooking a Sunday roast without preheating the oven – it's just not going to end well. This isn’t a job for a half-empty toolbox and a "hope for the best" attitude.
Laying everything out beforehand makes the whole process smoother, safer, and a lot less frustrating. Your first, and most important, decision starts with the fluid itself. Get this wrong, and you could be causing serious, expensive damage.
Choosing the Right Brake Fluid
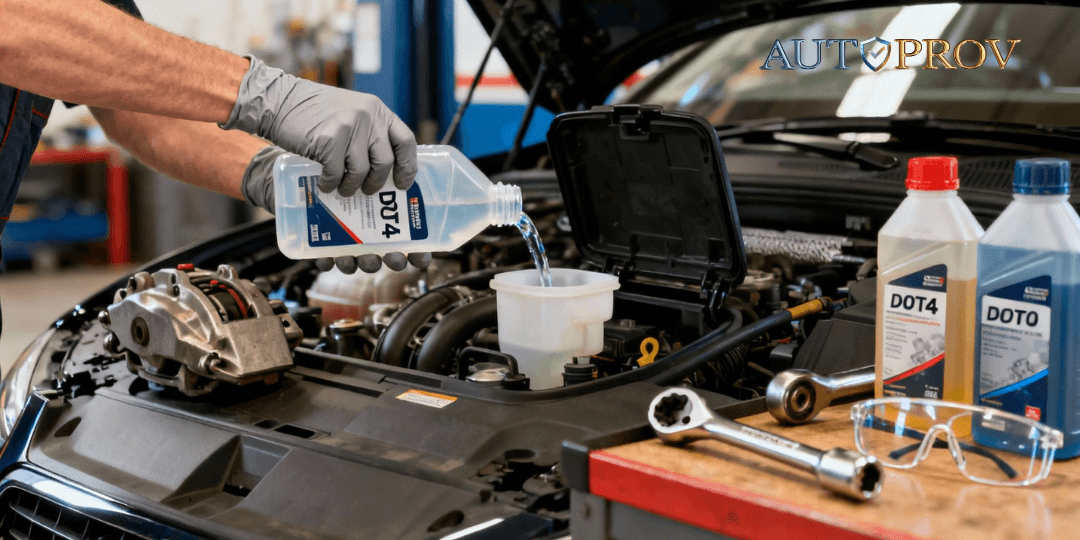
Most cars on UK roads today run on a glycol-based fluid, and the go-to spec is usually DOT 4. It’s the reliable workhorse of the automotive world. However, you might find that newer or higher-performance cars require DOT 5.1, which is another glycol fluid but with a higher boiling point for tougher conditions.
The most common choice is DOT 4, the standard for the majority of modern cars, with a minimum dry boiling point of 230°C. It's absolutely crucial to use fluid from a brand-new, sealed bottle. The second you open it, it starts absorbing moisture from the air, which is exactly what you're trying to get rid of. A step up in performance is DOT 5.1, with a minimum dry boiling point of 260°C. It's often specified for vehicles with advanced ABS and traction control systems because its lower viscosity in the cold helps these systems react more quickly. Finally, there's DOT 5, which is the odd one out. It’s silicone-based and typically found in classic cars or specialist vehicles. Critically, it is not compatible with DOT 3, 4, or 5.1 systems and must never be mixed. It's usually dyed purple to stop you from making that mistake.
Always, always check your owner’s manual or the cap on the master cylinder reservoir for the correct spec. If you're still in doubt, popping your reg into a platform like AutoProv.ai can pull up the manufacturer's technical data. It’s a quick way to get a definitive answer and avoid a costly mistake.
With the correct fluid in hand, it's time to gather the rest of your tools.
Your Mechanical Toolkit Checklist
Nothing kills momentum more than having to stop mid-job to hunt for a spanner. Having everything you need within arm's reach is key, especially when you're working with open hydraulic lines. You’ll probably find you already own most of this stuff if you do other bits of car maintenance. In fact, our guide on how to perform an engine oil change covers many of the same workshop essentials.
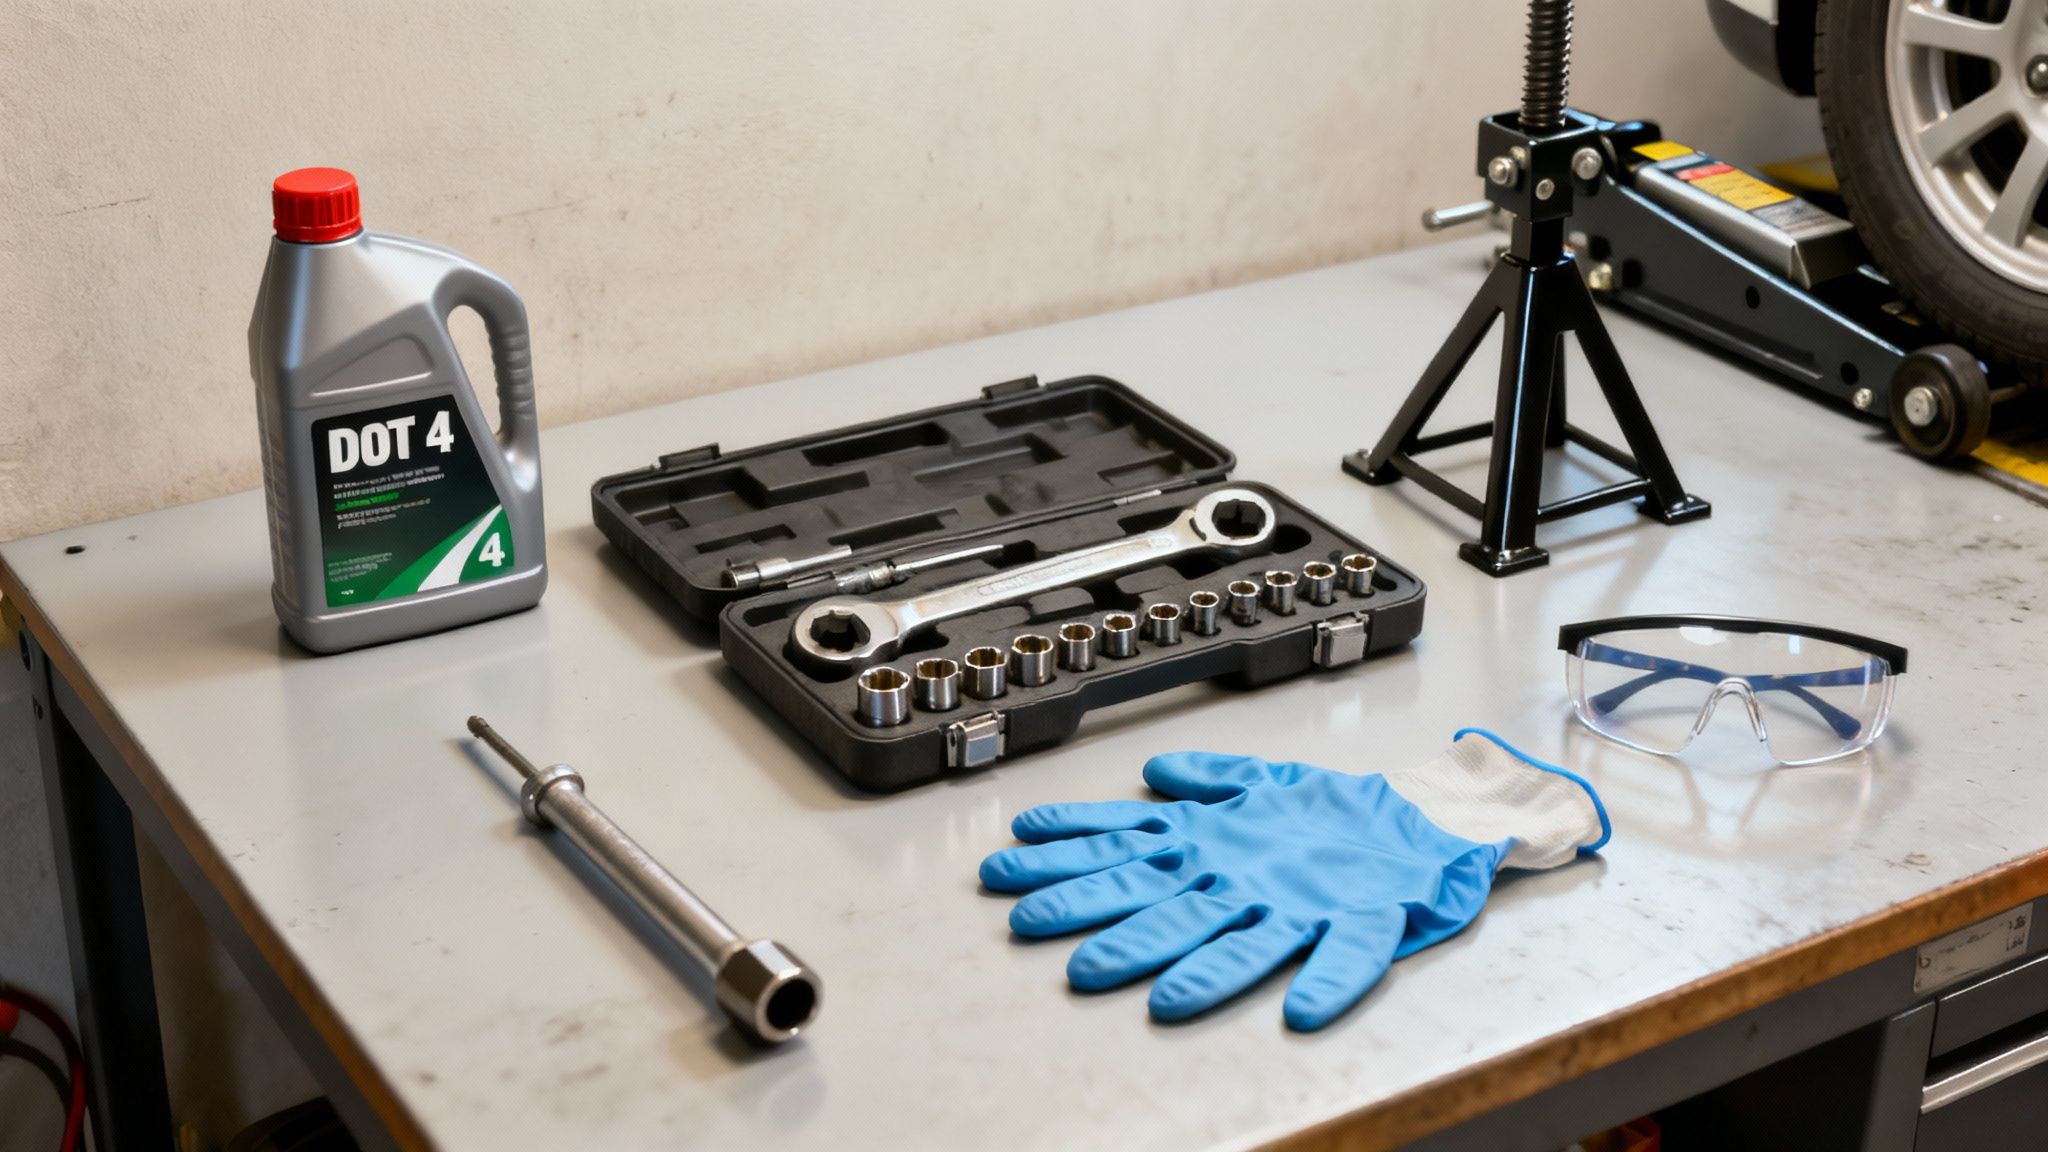
Your non-negotiable list should include a quality socket set to get the wheels off, along with a breaker bar for any stubborn nuts. You'll also need a trolley jack and a good pair of axle stands, which are a critical piece of safety equipment. A flare nut spanner (or brake bleed spanner) is the pro tool for the job, as it grips the bleed nipple on multiple sides and massively reduces the risk of rounding it off. Finally, a bleed bottle and hose make the job much easier, and a turkey baster or syringe is perfect for sucking the old fluid out of the master cylinder reservoir.
Personal Protective Equipment (PPE)
Let's be blunt: brake fluid is nasty stuff. It strips paintwork for fun and is a serious skin and eye irritant. Protecting yourself is every bit as important as protecting your car.
Nitrile gloves are a must, as they offer proper chemical resistance. Safety glasses are also essential, as a splash of brake fluid in the eye is not something you want to experience. Finally, wear old clothes or overalls because spills happen, and you don't want to ruin your good clothes.
With your fluid picked out and your toolkit ready, you’re all set to get stuck in. As they say, proper preparation prevents poor performance.
Getting Your Hands Dirty: A Practical Guide to Bleeding Your Brakes
Alright, enough with the theory. This is where we get down to the business of actually doing the job. Bleeding the brakes isn't complicated, but it is methodical. Precision here is non-negotiable – it's your safety on the line. I'll walk you through the entire process, focusing on the techniques the pros use to get a solid, air-free pedal every single time.
First things first: get the car in the air safely. This means using a proper trolley jack on a solid, level patch of ground. As soon as it's up, get it supported on correctly rated axle stands. I can't stress this enough: never, ever work under a car held up only by a jack. With the car secure, get the wheels off to give yourself clear access to the brake callipers and the bleed nipples you’ll be working on.
Finding Your Way Around
Before you crack open a single nut, take a second to get your bearings. You're looking for two key components. The Master Cylinder Reservoir, a small, semi-transparent plastic pot under the bonnet, and the Bleed Nipples, which are small valves with threaded ends found on each brake calliper.
Now that you know what's what, grab a turkey baster or a large syringe and suck out as much of that old, dark fluid from the master cylinder reservoir as you can. Don't drain it bone dry, but get the worst of it out. Then, top it right up to the 'MAX' line with fresh, clean fluid from a brand-new, sealed bottle. This simple step stops you from pushing the nastiest, most contaminated fluid through your entire brake system.
Picking Your Bleeding Method
You've got three main ways to tackle this job. The best one for you really just depends on the tools you have to hand and whether you’ve managed to rope in a helper for the afternoon.
The Two-Person Pump-and-Hold Method
This is the classic, old-school way of doing things, and it requires a patient assistant. The golden rule is to always start at the brake calliper furthest from the master cylinder and work your way closer. For the vast majority of cars in the UK, that sequence is: rear-left, rear-right, front-left, and finally front-right.
The process is a simple, repeated sequence of communication. First, push a clear tube onto the bleed nipple and place the other end in a catch bottle. Your helper in the car then slowly presses the brake pedal down a few times before holding it firmly to the floor, shouting "Down!" to let you know. With the pedal held down, you briefly open the bleed nipple. Old fluid and air will shoot down the tube. Crucially, you must tighten the nipple before your helper lets their foot off the brake. Repeat this until you see nothing but clean, bubble-free fluid. Remember to keep the master cylinder reservoir topped up constantly.
A word of warning: the most common DIY mistake is letting the master cylinder run dry. If that happens, you’ll pull a massive amount of air into the system, potentially deep into the ABS pump. Your only option then is to start the entire, painstaking process from scratch.
Pressure Bleeding for a Faster Job
A pressure bleeder is a fantastic bit of kit that makes bleeding brakes a quick, one-person job. It's essentially a pressurised container you fill with fresh fluid. You screw its special cap onto your master cylinder reservoir, pump it up to about 15-20 PSI, and it creates a constant, steady pressure throughout the whole system. All you have to do then is move from wheel to wheel in the correct order, open the bleed nipple, and just watch as the old fluid is pushed out. It’s fast, incredibly effective, and the method of choice in almost every professional workshop for a reason.
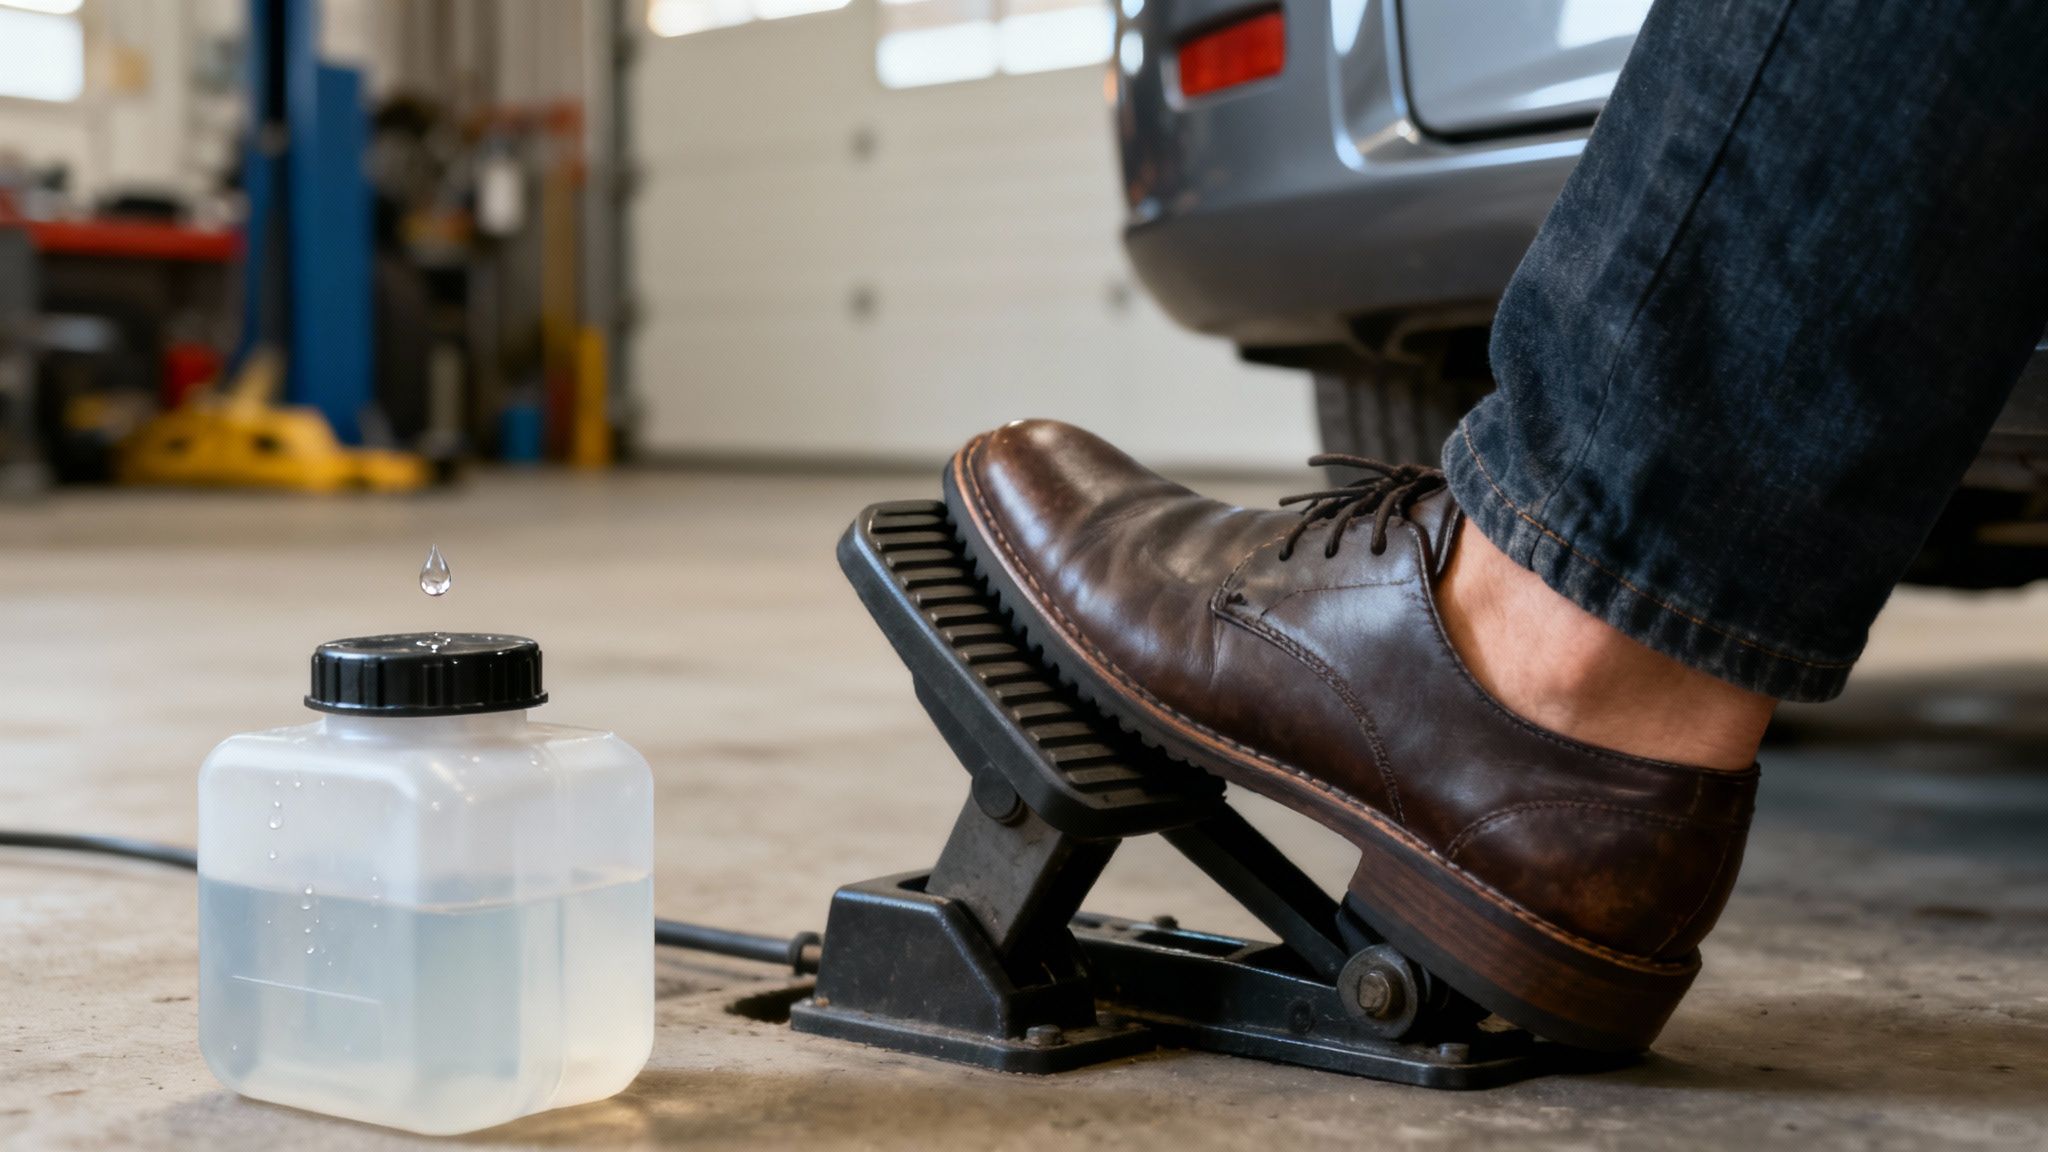
Vacuum Bleeding: Another Solo Option
Vacuum bleeders work on the opposite principle. Instead of pushing fluid out, these kits use a hand-pump to create a vacuum at the calliper, sucking the old fluid and air out through the bleed nipple. You attach the pump’s collection bottle to the nipple, pump the handle to create a vacuum, and then gently crack the nipple open. The main challenge with this method is getting a perfect seal around the bleed nipple's threads, as it can pull air in from the outside, making it look like you have endless bubbles.
The ABS System Complication
Modern cars with Anti-lock Braking Systems (ABS) add another layer to this job. The ABS modulator is a complex block of hydraulic valves and tiny chambers that can tenaciously hold onto pockets of old fluid and air. Research from specialists like Castrol shows that in just two years of typical UK weather, brake fluid can absorb enough moisture to lower its boiling point to a dangerous level. One of the UK's biggest breakdown services also reports that a huge number of the ABS pump failures they see are a direct result of old, corrosive fluid wrecking the delicate internals.
To do a full and proper flush on most ABS-equipped cars, you'll need a diagnostic scan tool. This plugs into the car’s OBD-II port and lets you activate the "ABS bleed" or "service bleed" function, which forces the ABS pump to cycle all its internal solenoids and valves. On cars with advanced stability control, this is often the only way to guarantee a complete and safe fluid change. To learn more about looking after your car's core systems, have a read of our guide on essential car maintenance for UK drivers.
Right, you’ve done the heavy lifting, the last bleed nipple is nipped up, and the reservoir is full. But then comes the moment of truth: you press the brake pedal, and it sinks towards the floor with a disappointing, spongy feeling. Don't panic. This is hands-down the most common hiccup after a fluid change, and it almost always points to one culprit: trapped air.
Even a bubble the size of a pinhead can completely ruin your brake feel. Thankfully, finding and evicting that pocket of air is usually a straightforward process.
Getting Rid of a Spongy Pedal
First things first, you need to work out where that air is hiding. Go back through the bleeding process, but this time, focus on the finer points of your technique. A useful trick is to give the body of the brake calliper a few firm taps with a rubber mallet; the vibrations can be surprisingly effective at dislodging stubborn little air bubbles. Also, double-check your connections are snug and that your bleed hose is fully submerged in fluid in your catch bottle. If you have a helper, communication is everything – the bleed nipple must be tightened before their foot comes off the brake pedal.
If the pedal still feels soft after another go, you might have let the master cylinder reservoir run too low. If it runs dry, even for a moment, it gulps a massive amount of air deep into the system. If that's happened, you’ve got no choice but to start the entire bleeding process right from the very beginning.
A quick diagnostic tip: if the pedal feels firm when you first press it, but then slowly sinks to the floor as you hold pressure, you're likely looking at a different issue. That's the classic symptom of a master cylinder with worn internal seals or a leak somewhere else in the hydraulic system.
What to Do with Weeping Bleed Nipples
Another common annoyance is a bleed nipple that weeps a tiny bit of fluid, even after you've tightened it properly. This is almost always caused by a tiny piece of dirt or grit stuck on the tapered seat inside the calliper. Whatever you do, don't just keep cranking on it. Instead, back the nipple off one full turn. Get a rag ready and have someone press the brake pedal firmly to force a sharp jet of fluid out. This little flush usually dislodges the debris. Now, retighten it to the correct torque specification, and you should have a perfect seal.
The Non-Negotiable Post-Job Safety Checks
Once you’re happy you have a firm, responsive pedal, the job isn't quite done. These final checks are absolutely critical for your safety. First, perform a thorough leak inspection. Get a helper to press and hold the brake pedal while you meticulously inspect every connection you touched with a torch. Second, torque your wheels. With the car back on the ground, use a properly calibrated torque wrench to tighten the wheel nuts to the manufacturer's specified setting. Finally, perform a low-speed test drive. Find a safe, quiet spot and perform a few gentle stops from around 10-15 mph. The brakes should feel firm and the car should pull up in a dead straight line.
Disposing of Old Fluid Responsibly
You’ll be left with a bottle full of old, dark, contaminated brake fluid. In the UK, this is officially classified as hazardous waste because of its chemical makeup. You absolutely cannot pour it down the drain, and it doesn't belong in your household bin.
You have a legal and environmental duty to get rid of it correctly. The good news is that most local council household waste recycling centres have dedicated facilities for hazardous automotive fluids. The UK government's official guidance clearly sets out the rules for disposing of hazardous waste. This is the best place to start to find your nearest disposal site and ensure you're protecting the environment and staying on the right side of the law.
Protecting Your Car's Value with a Digital Service Record
 You’ve done the hard work. The system is bled, everything is torqued to spec, and the car is stopping safely. But there’s one final, often-missed step that protects your investment just as much as fresh fluid protects your brakes: properly documenting the job.
Let’s be honest, a patchy service history is a massive red flag for any potential buyer down the line. It instantly knocks value off your car. This is your chance to turn that DIY effort into a real, tangible asset. It’s the difference between just telling someone the brake fluid was changed and actually proving it with a verifiable, professional entry.
The Power of a Verifiable Digital Log
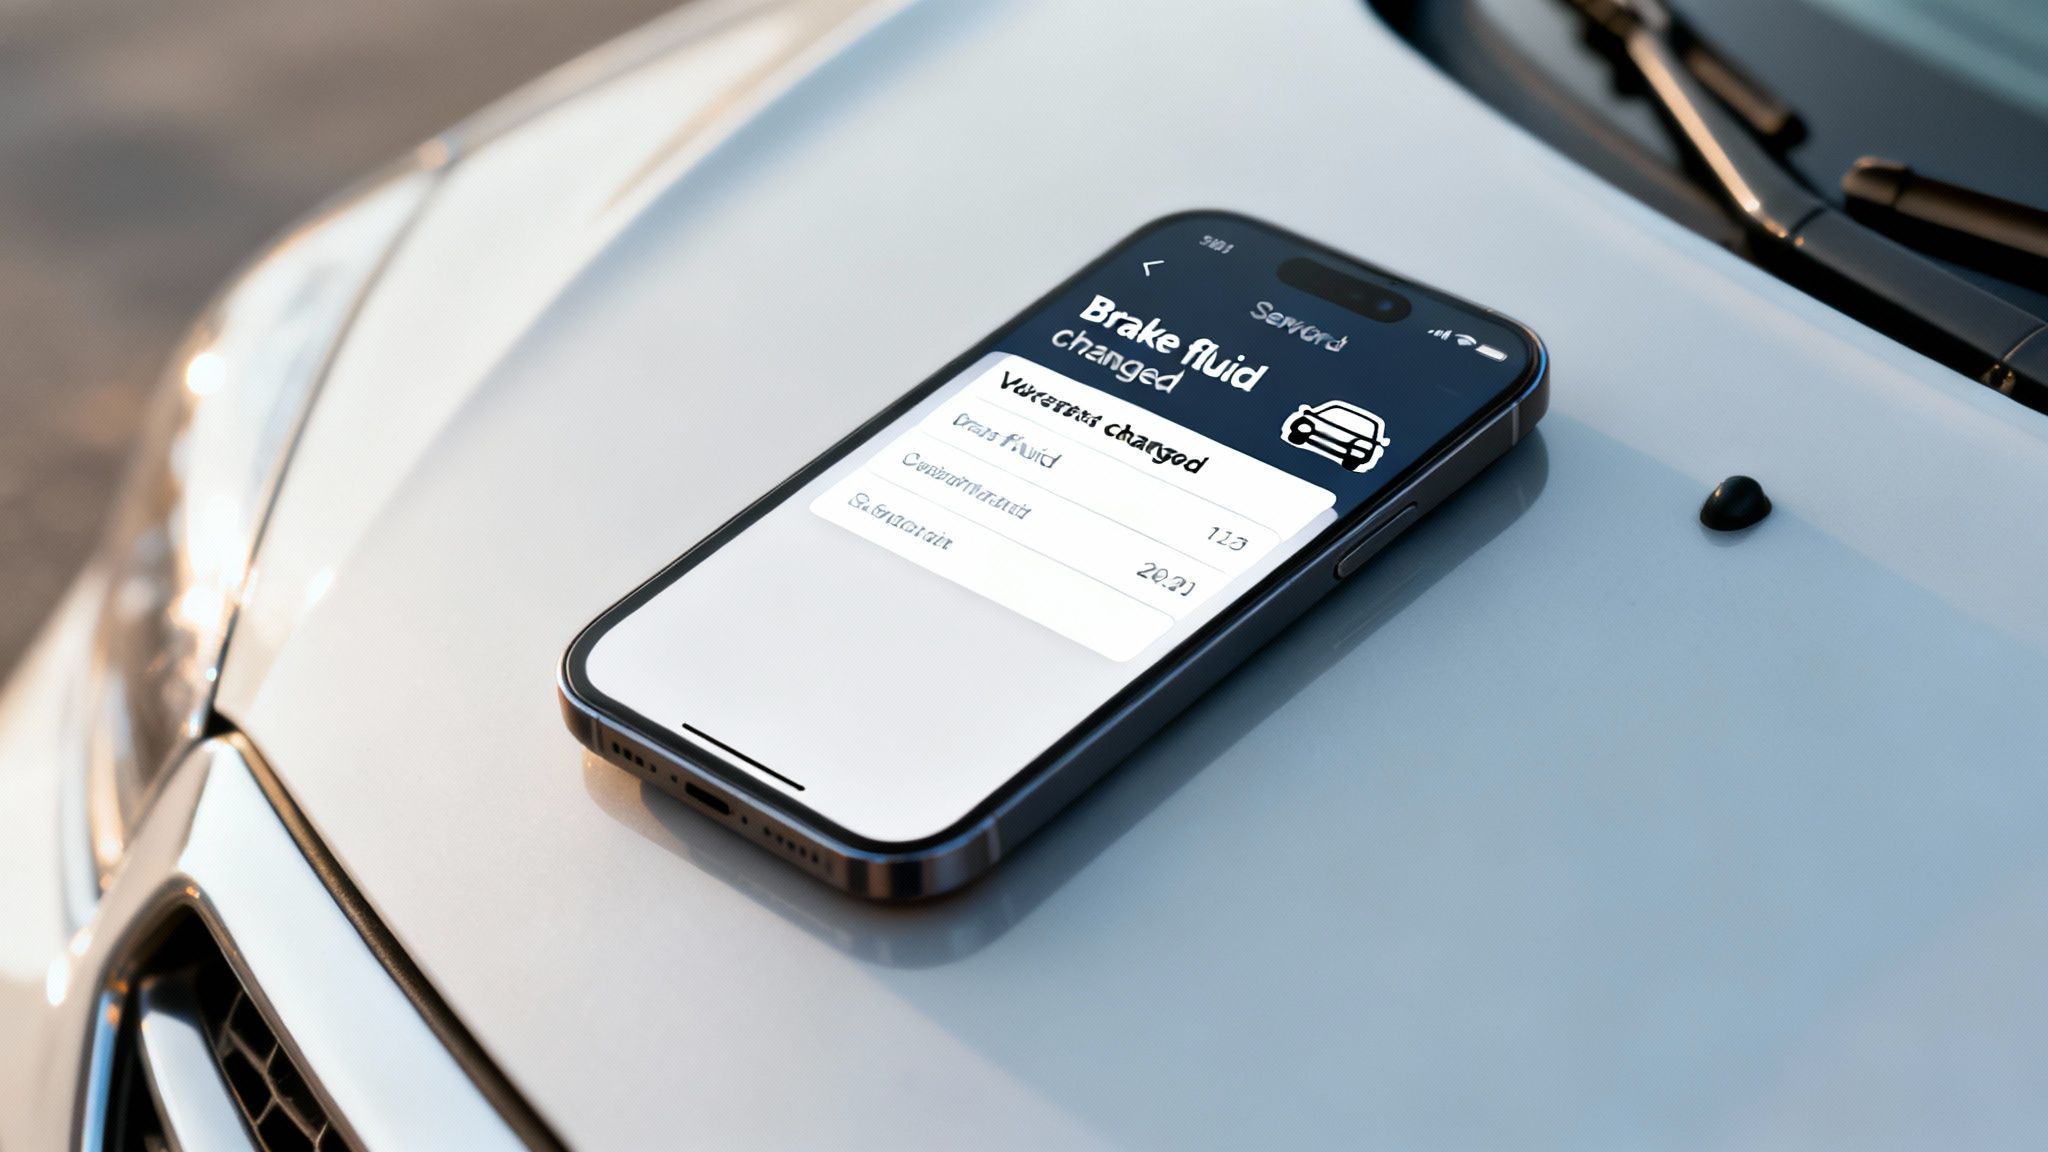
In today's market, a crumpled receipt stuffed in the glovebox just doesn’t inspire confidence. Modern buyers expect transparency, and a digital service history provides exactly that. It creates a permanent, accessible, and tamper-proof record of the vehicle's life.
This is precisely why platforms like AutoProv.ai are becoming indispensable for UK drivers. By using an AutoProv-affiliated garage, every bit of maintenance—including a critical job like a brake fluid change—can be officially logged against your car's digital record. This professional validation turns your hard work into a recognised part of the car's provenance. You can get a deeper understanding of this by reading our guide on how to check service history in the UK.
A complete and professionally documented service history isn’t just about peace of mind; it has a direct impact on your wallet. Industry data suggests a car with a full, verifiable service history can command a sale price up to 20% higher than an equivalent model without one.
Securing Your Vehicle's Future
Sticking to that two-year interval for a brake fluid change is a non-negotiable safety task that protects you and your passengers. But when you officially document that work through a trusted platform like AutoProv.ai, you also safeguard your car’s long-term financial value.
You’re building a clear story of diligent ownership. It gives any future buyer the confidence they need to pay a premium. Think of AutoProv.ai as the modern driver's essential tool—not just for managing maintenance and safety, but for protecting the future worth of your car.
Frequently Asked Questions About Brake Fluid
Even with a detailed guide, it's completely normal to have a few questions rattling around before you grab the spanners. Let's be honest, tackling a brake fluid change for the first time can feel a bit daunting.
To clear up any last-minute uncertainties, I've put together answers to some of the most common queries we see from UK drivers. Think of this as your quick-reference cheat sheet to help you get the job done with confidence.
What Colour Should My Brake Fluid Be?
Fresh, healthy brake fluid should be almost perfectly clear, with a slight yellow or amber tint – it looks a lot like new cooking oil. This clean appearance tells you it's free from contaminants and ready to handle the intense pressures of your braking system. Over time, it absorbs moisture and gathers microscopic bits of rust and rubber from inside the brake lines. This contamination causes the fluid to break down, turning it a dark, murky brown or even black.
A quick visual check is one of the most reliable ways to judge its condition. If you pop the reservoir cap and the fluid inside looks more like old engine oil than fresh, it's a dead giveaway that a full flush is overdue, no matter the mileage.
How Often Should I Change Brake Fluid?
The golden rule for almost every car on UK roads is to change the brake fluid every two years. This isn't a recommendation based on how much you drive; it's all about time. The fluid is hygroscopic, which is a technical way of saying it loves to absorb moisture from the atmosphere. This happens whether the car is tucked away in a garage or driven every day. After two years, it will almost certainly have absorbed enough water to seriously lower its boiling point, which compromises performance and puts your safety at risk.
Can I Just Top Up My Brake Fluid?
While you can absolutely top up the fluid if the level has dropped just below the 'MAX' line, you should only ever see this as a temporary fix. Simply adding a bit of new fluid into old, contaminated fluid does next to nothing to improve the safety or performance of your braking system. Topping up doesn't remove the water that's already been absorbed, and it won't get rid of the sediment and grime circulating in the lines. It’s a bit like adding a cup of clean water to a muddy puddle – it doesn’t fix the underlying problem. A complete flush and replacement is the only proper way to restore your braking system to its best.
For more answers to common maintenance queries, you can find a wealth of information over on the AutoProv FAQ page. It’s a great resource for getting to grips with the technical side of keeping your car in top condition.
Frequently Asked Questions
AI-Generated Content Notice
This article was created with the assistance of artificial intelligence technology. While we strive for accuracy, the information provided should be considered for general informational purposes only and should not be relied upon as professional automotive, legal, or financial advice. We recommend verifying any information with qualified professionals or official sources before making important decisions. AutoProv accepts no liability for any consequences resulting from the use of this information.
From our AI insights
- Navigating the UK's MOT Changes in 2024
Explore the key MOT changes in 2024 and what they mean for UK drivers.
- Understanding the DVLA's Role in Vehicle Maintenance
Discover how the DVLA influences your vehicle maintenance tasks in the UK.
- Preparing Your Car for Winter: Essential Maintenance Tips
Stay safe this winter with our essential car maintenance tips tailored for UK drivers.
Related Articles
The Importance of Car Maintenance and Provenance Checks
Discover why regular car maintenance and proper provenance checks are essential for vehicle quality and longevity.
Essential Car Maintenance Tips for UK Drivers
Discover vital car maintenance tips to keep your vehicle roadworthy and compliant in the UK.

How Much Is a Car Service? Complete UK Price Guide
Trying to pin down exactly "how much is a car service?" can feel a bit like asking "how long is a piece of string?". Prices vary quite a bit, but to give you a ballpark figure, an interim service will usually set you back around £100 to get started. A more thorough full service often begins at £180, while a major service for many cars can easily top £300.
Published by AutoProv
Your trusted source for vehicle intelligence
